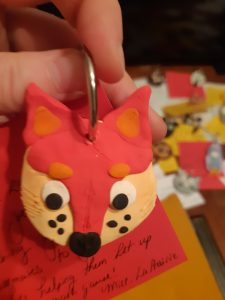
This is my new, most relaxing activity. Modeling clay into various shapes and colours is incredibly therapeutic and takes lots of time, but it really helps quiet my mind. With the help of Keiro and Eliza who guided me on how to start this process, I learned the basic of forming shapes, choosing placements for items for later assembly and the baking process. And now I’m in free-for-all mode, attempting so many different projects with this medium.
Step 1: Choose colours and mix clay into preferred shapes, warming the clay in your hands to mold.
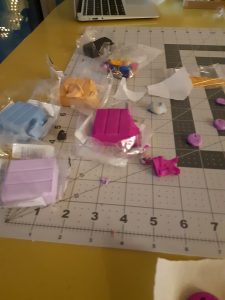
Step 2: Plan out how you will assemble your pieces after they are baked BEFORE putting them into the oven (the holes matter if you’re using hardware after!!)

Step 3: Bake in oven @ 275 degrees for 30 minutes (here I used parchment paper).

Step 4: After cooling, use jewelry glue to fasten chosen hardware to clay pieces.
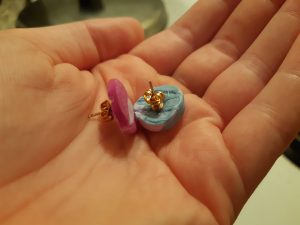
And voila! Just like that, it’s such an easy process and I highly encourage you to give it a try!
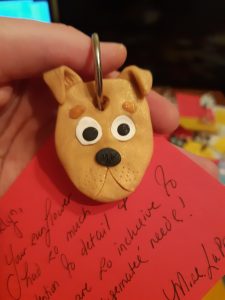
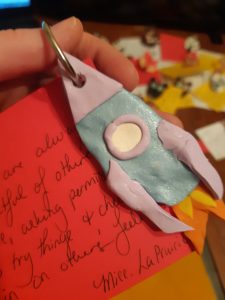
I was on a real polymer clay kick, so I ended up making tons more for my grade 3 wednesday class as goodbye gifts. My favourite is the rocket ship.

Leave a Reply